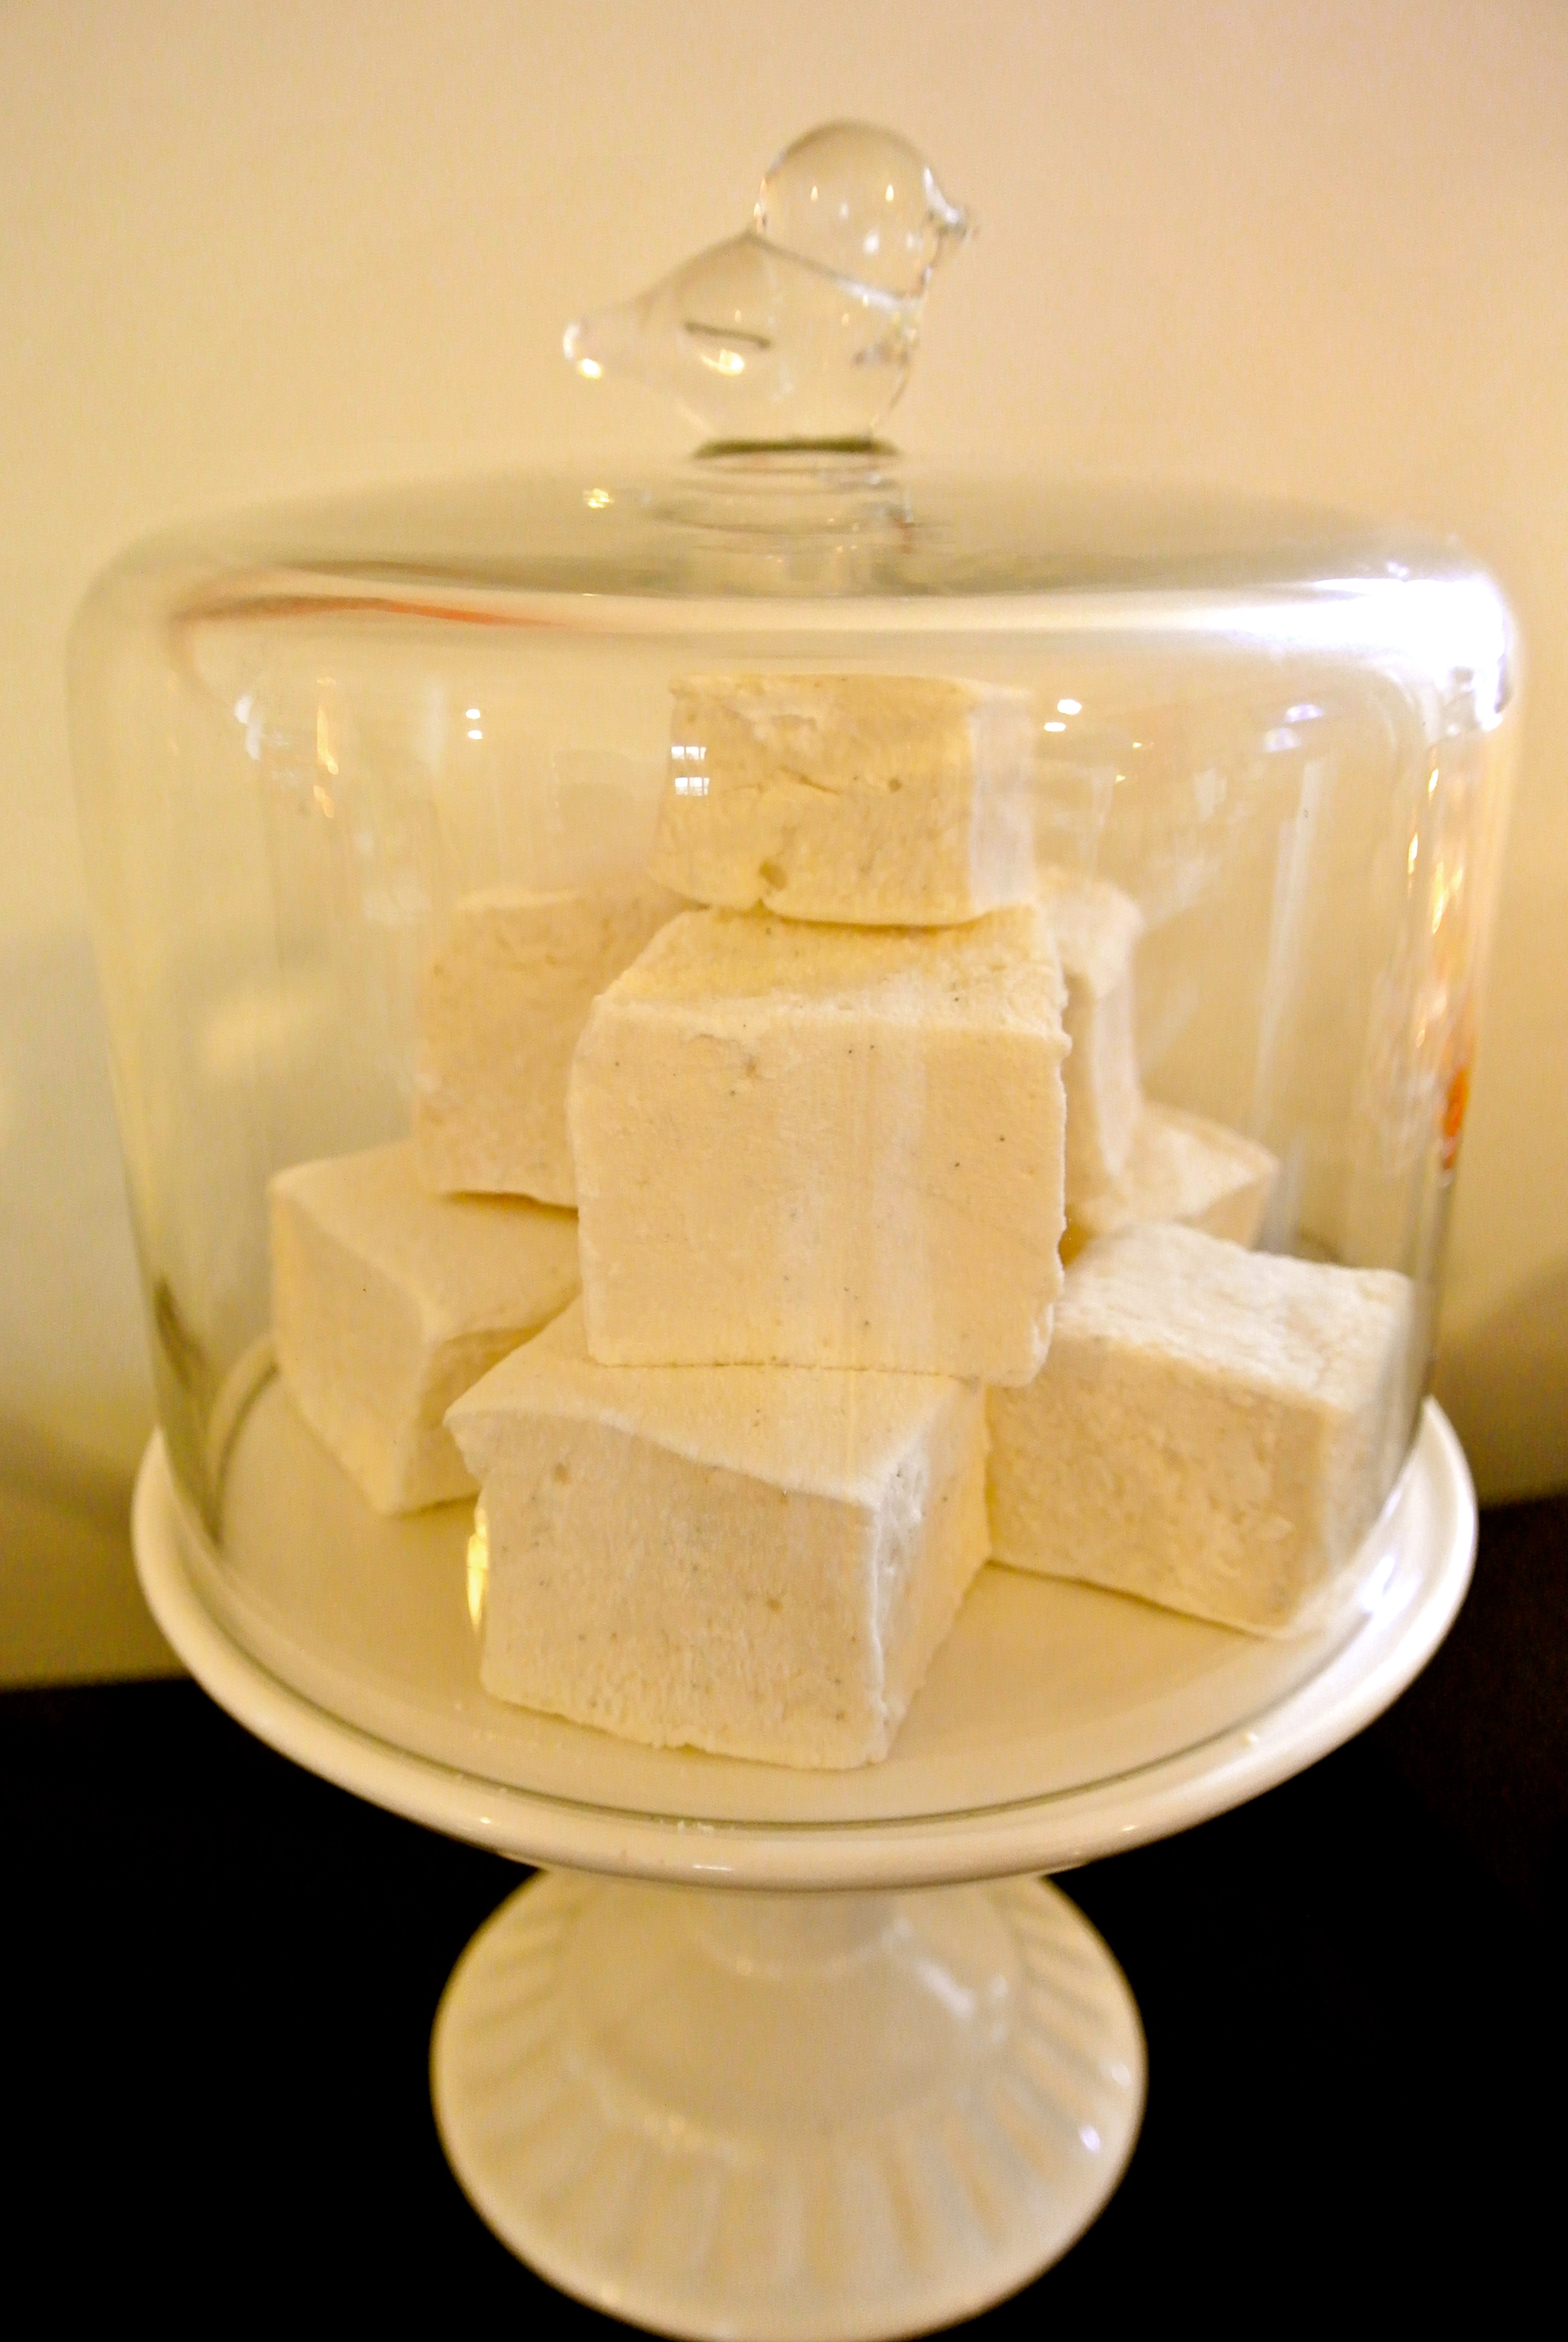
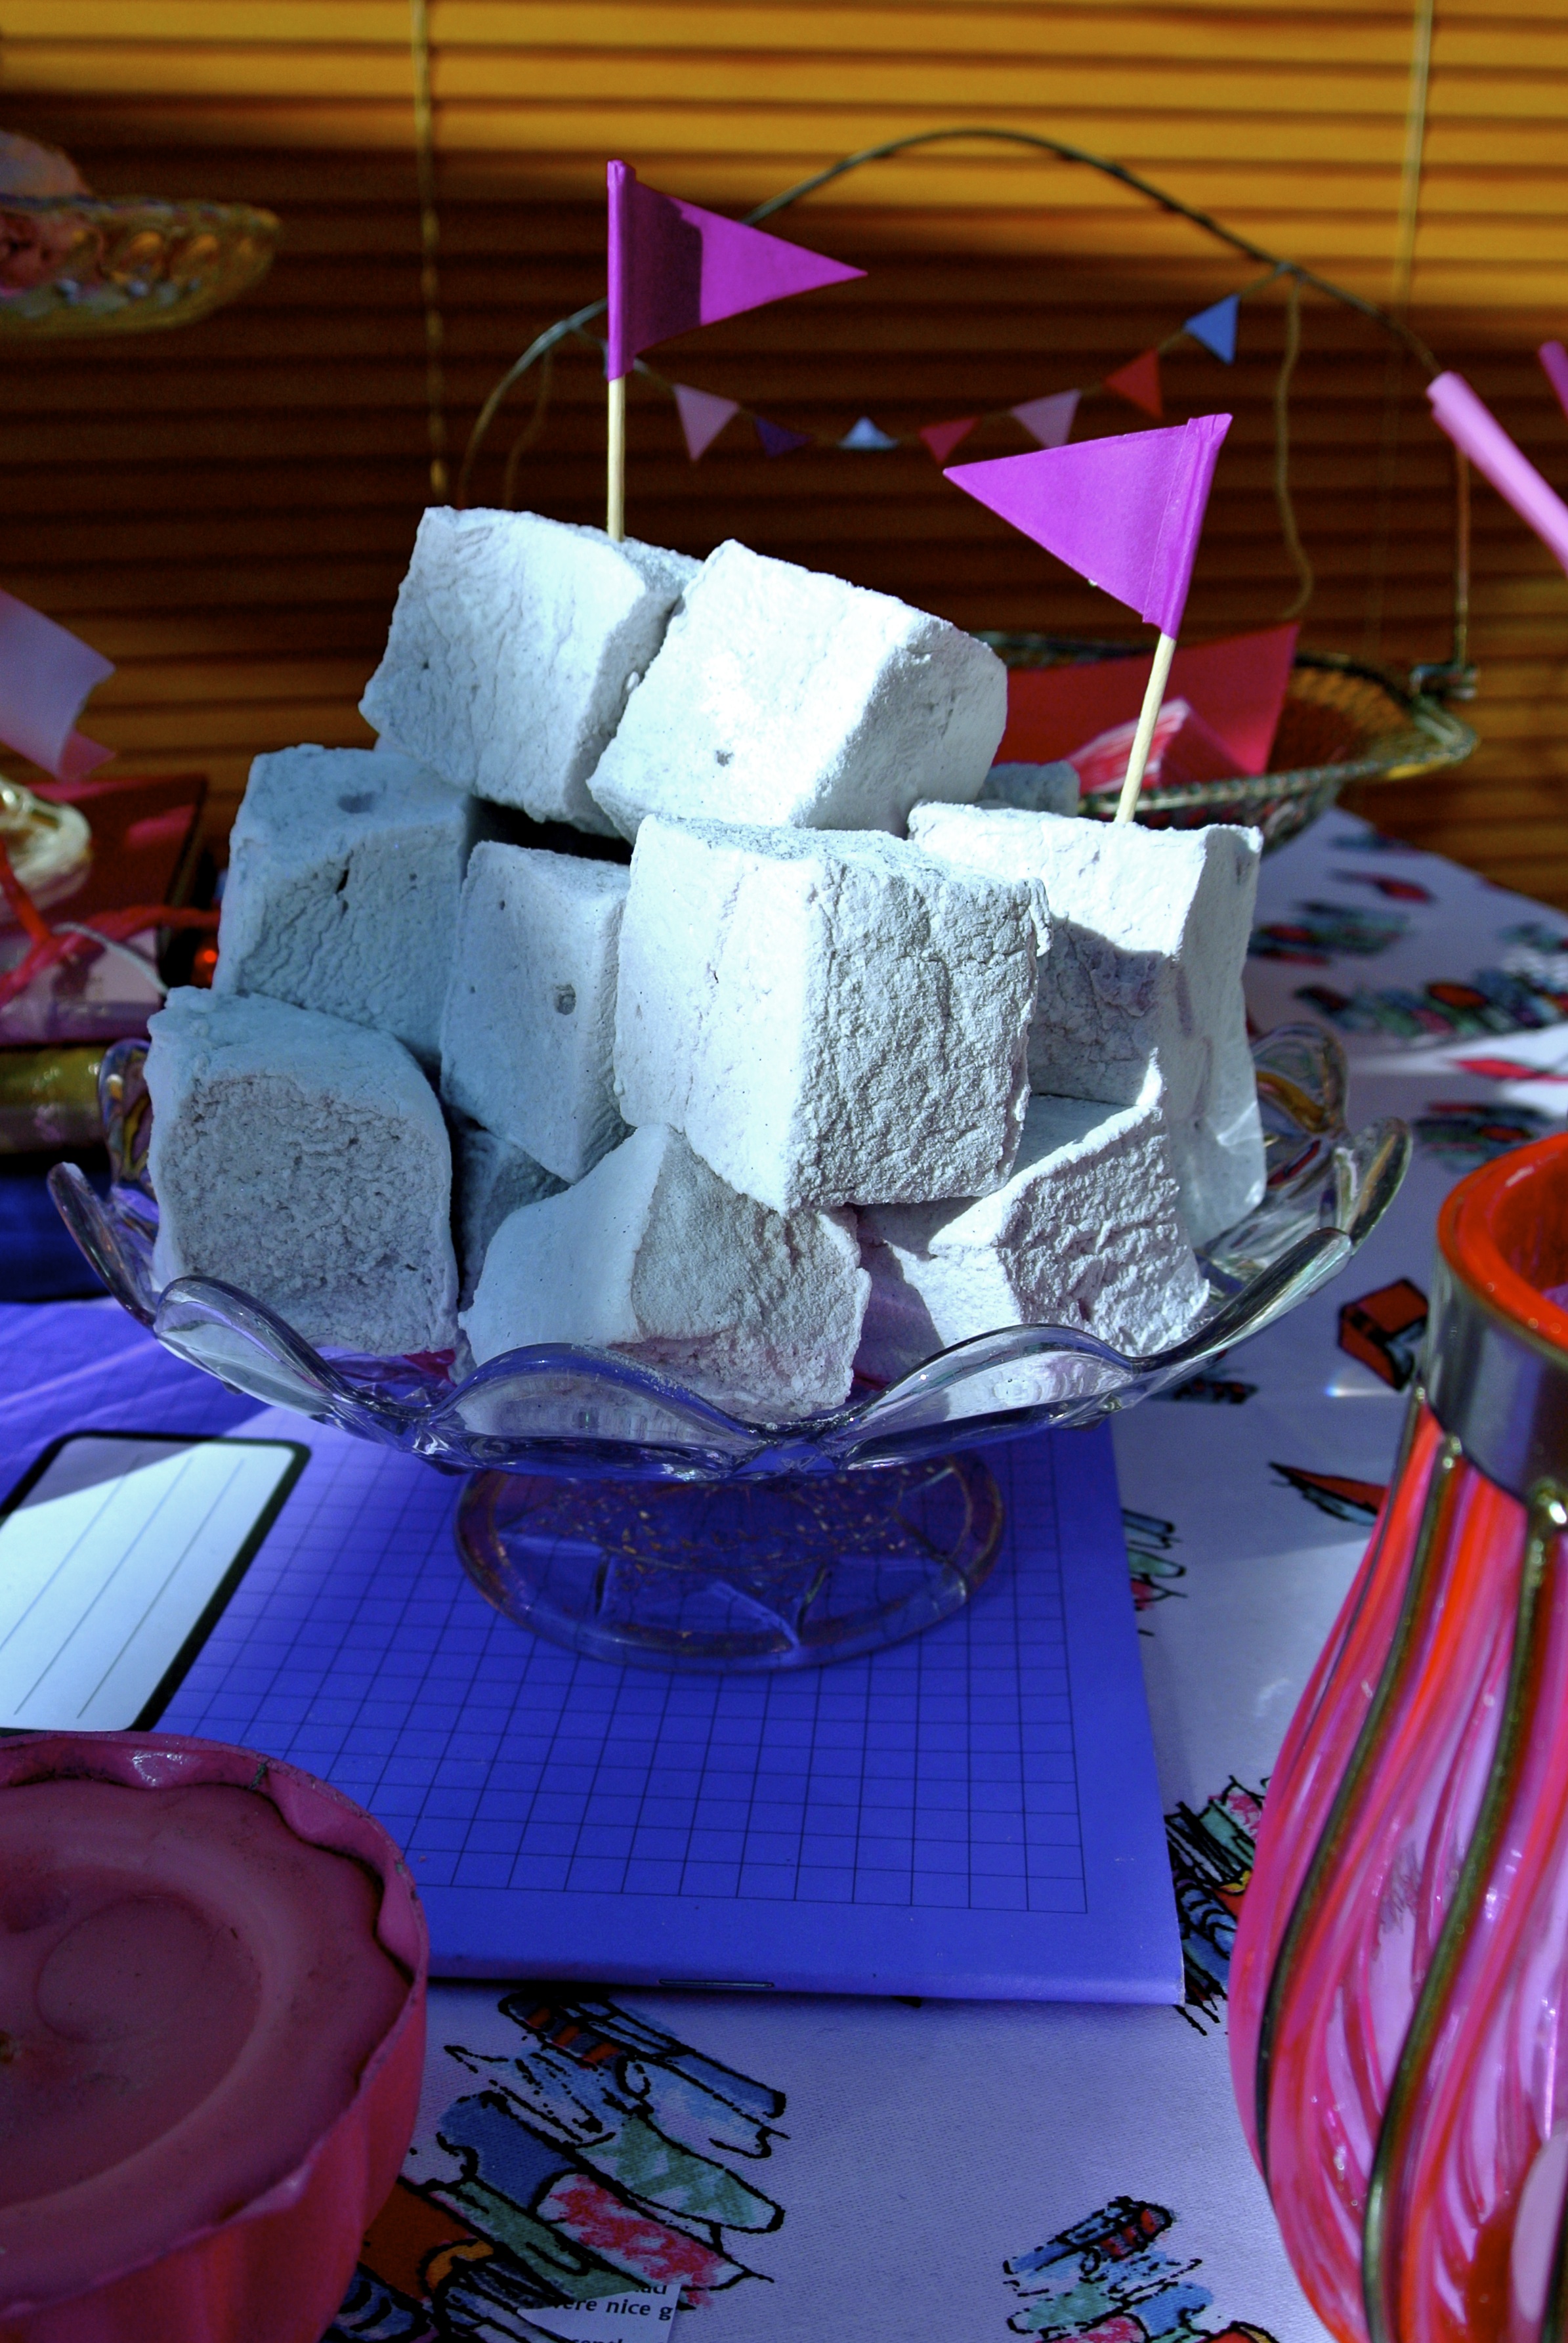
Everyone LOVES marshmallows. FLUFFY and FABULOUS.
Not half as dangerous as the 1984 classic movie would have you believe. Yet very few are aware of the fabulous fact that these pillowy soft treats can be easily conjured up at home.
 Yes, honestly!
Follow these instructions to create your own marvellous home-made mallows!
- Vegetable oil for greasing
- 1/2 cup icing sugar
- 1/2 cup corn flour
- 2 medium egg whites
- 2 cups caster sugar
- 1 tbs glucose syrup
- 1 vanilla pod
- 13 fl oz cold water
- 4 tbs powdered gelatine
- 2 tsp good quality vanilla extract (or if using flavouring, only use 1tsp and use desired amount of flavouring)


- Grease a tray. I prefer making chunkier marshmallows and use a square disposable tin 9 x 9 inch (available from Lakeland).
- Combine icing sugar and corn flour and sift. Sift again over the tin and coat liberally.
- Whisk the egg whites until they form stiff peaks and set aside while you make the sugar syrup. Don’t worry, they will separate, but you can re-whisk them later.
- Over a low heat, combine the caster sugar, glucose syrup, scraped vanilla pod and half of the cold water in a small saucepan. You will need to ensure all of the syrup has dissolved.
- Once the sugar has dissolved, increase the heat to bring the syrup to a boil.
- Boil until the candy thermometer reaches what is called the “hard-boil” stage. This is 130 degrees Celsius or 266 degrees Fahrenheit.
- In the meantime, put the remaining cold water into a small saucepan and sprinkle over the gelatine. Keep off the heat while the gelatine softens and fluffs up.
- Just before the sugar syrup reaches the hard-ball stage, heat the gelatine mixture on a low heat and stir so that it dissolves. You don’t want any crystals in it.
- As soon as the sugar syrup reaches the hard-boil stage, remove from the heat and pour in the gelatine mixture and stir. You will need to be careful at this stage, as it will froth up quite aggressively. You don’t want to burn yourself in the steam – it’s super hot!
- Remove the vanilla pod. Stir in the vanilla extract (don’t add any flavours at this stage)
- If your egg whites have separated, put on your mixer to mix again (I usually put them on when I start heating the gelatine at step 8).
- Keep whisking the eggs and gradually pour in the syrup down the side of the bowl and continue whisking until it is all combined.
- It is at this stage that you really appreciate having a free-standing mixer: without one, you’ll have one arm the size of Arni’s biceps! Whisk on a medium to high speed (6-8 on a KitchenAid) for no less than 7 minutes. I have found that 8-9 minutes is ideal. By this stage it should almost be stiff.
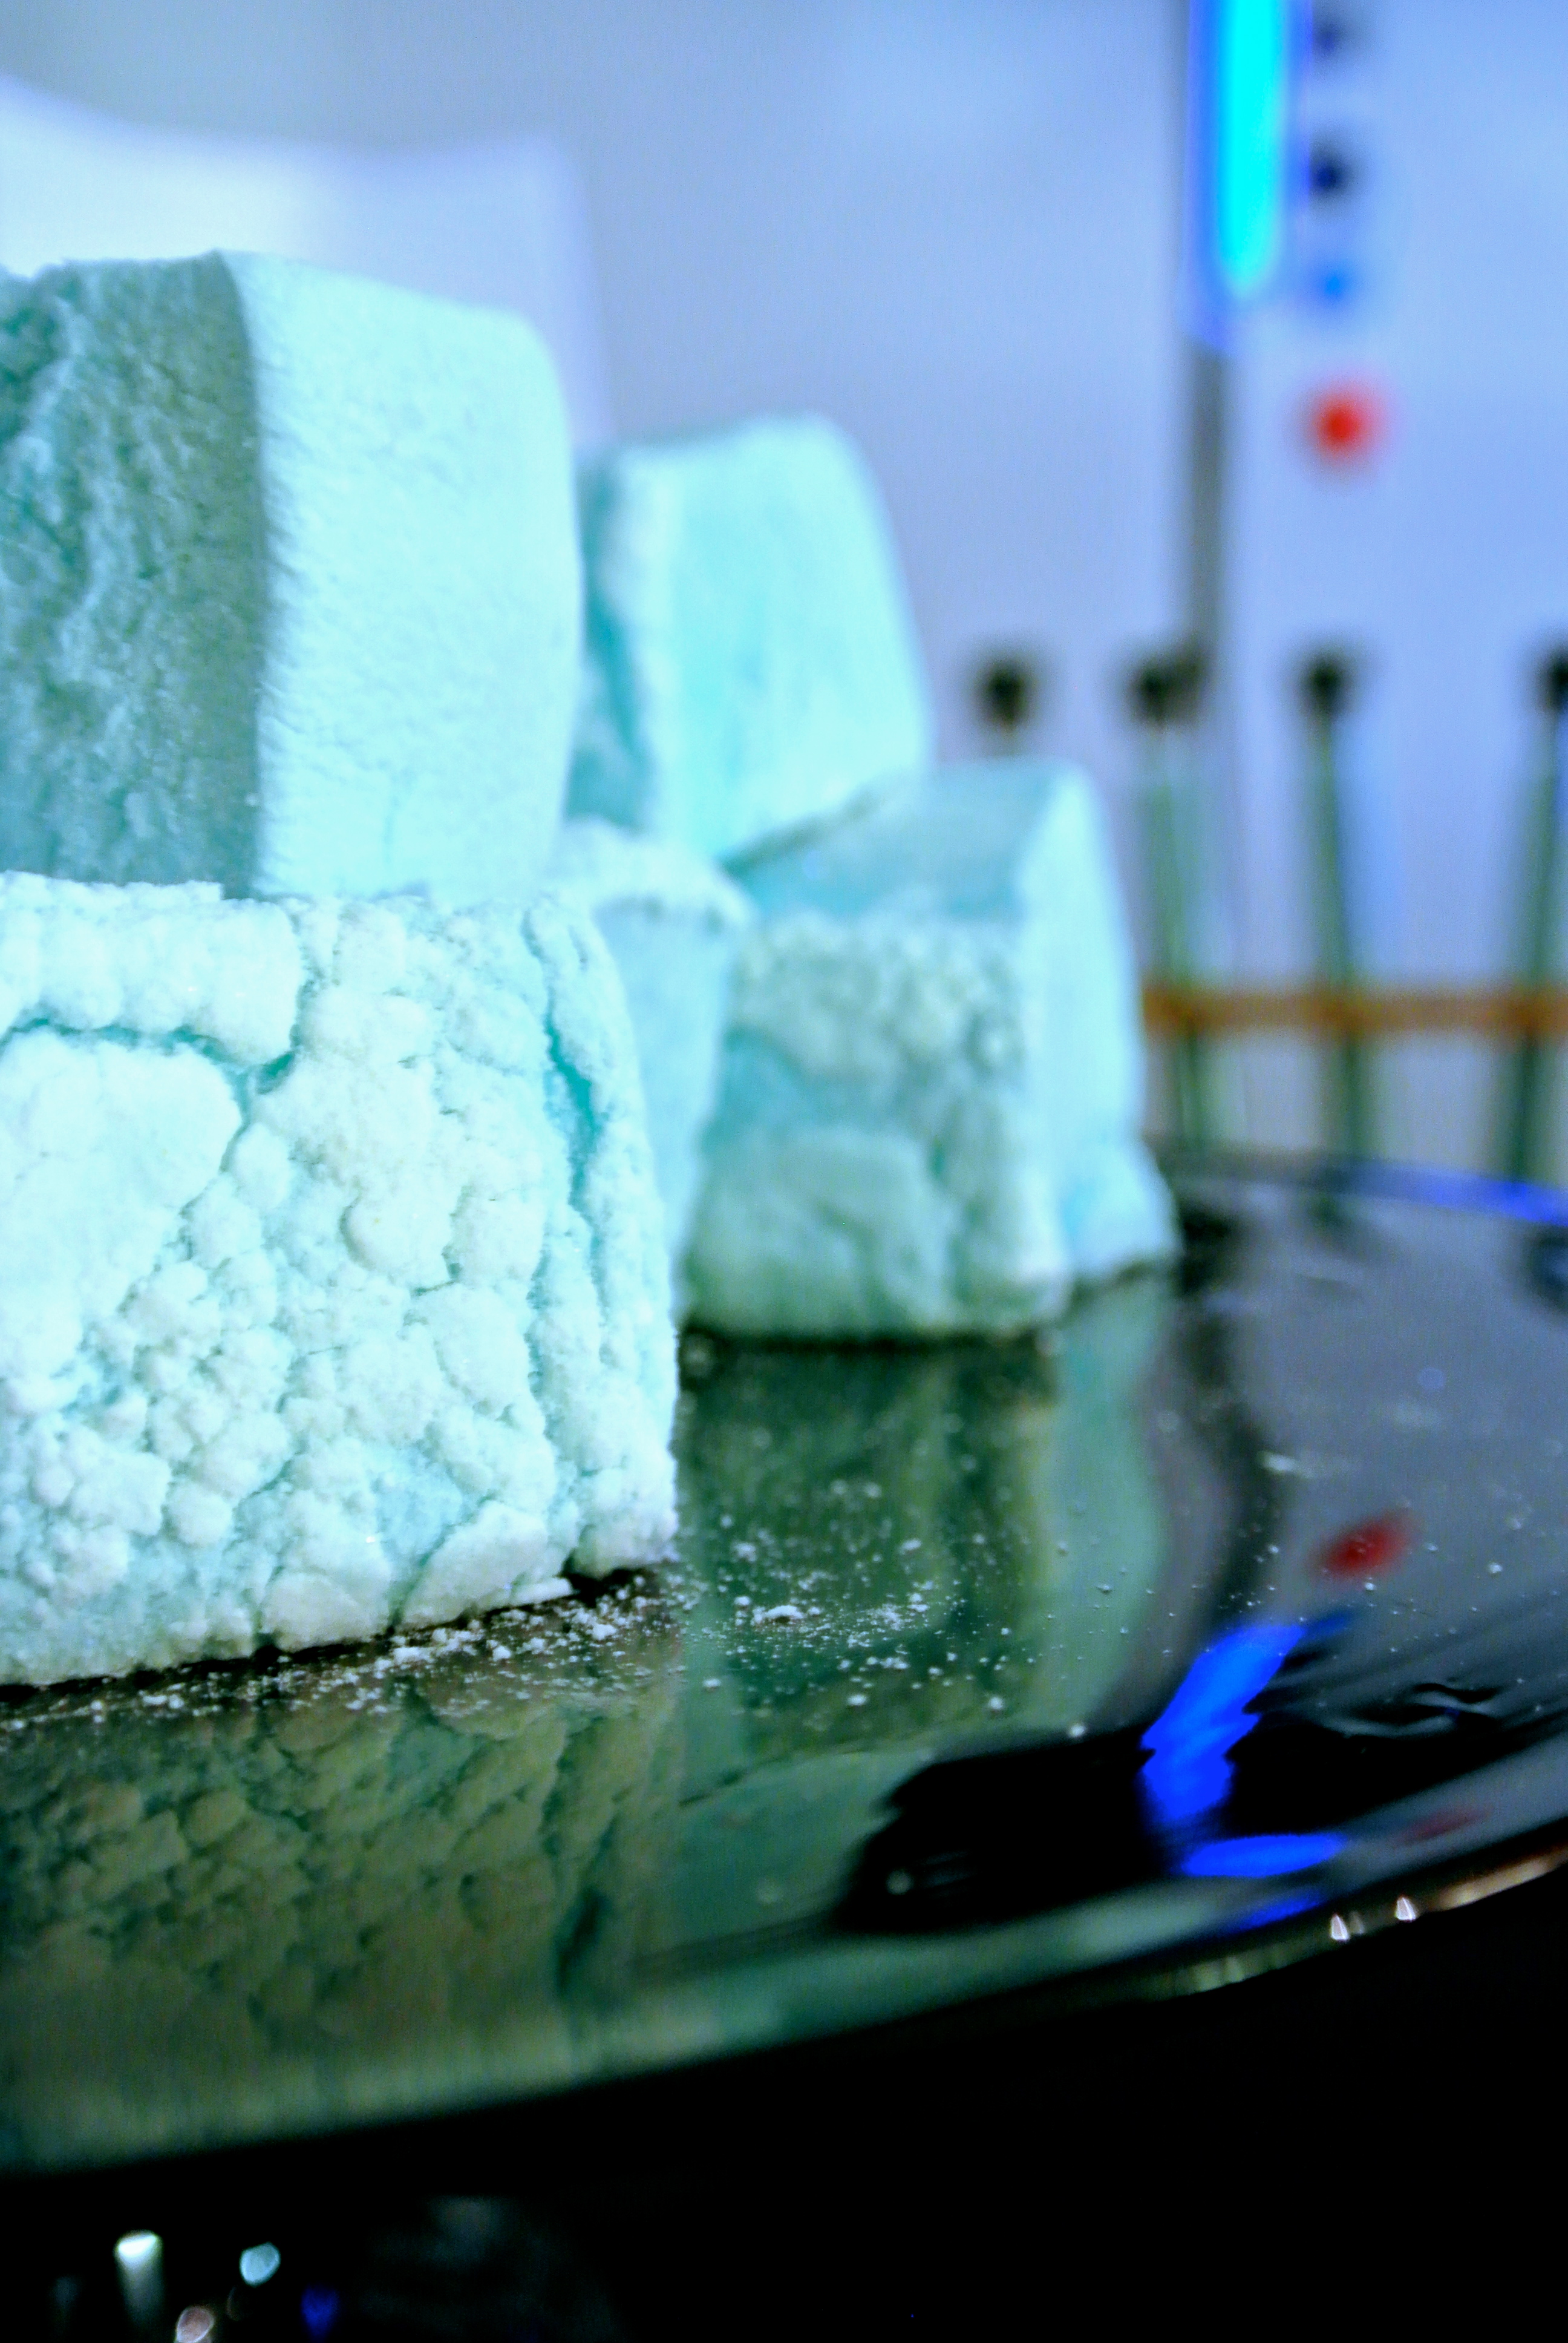
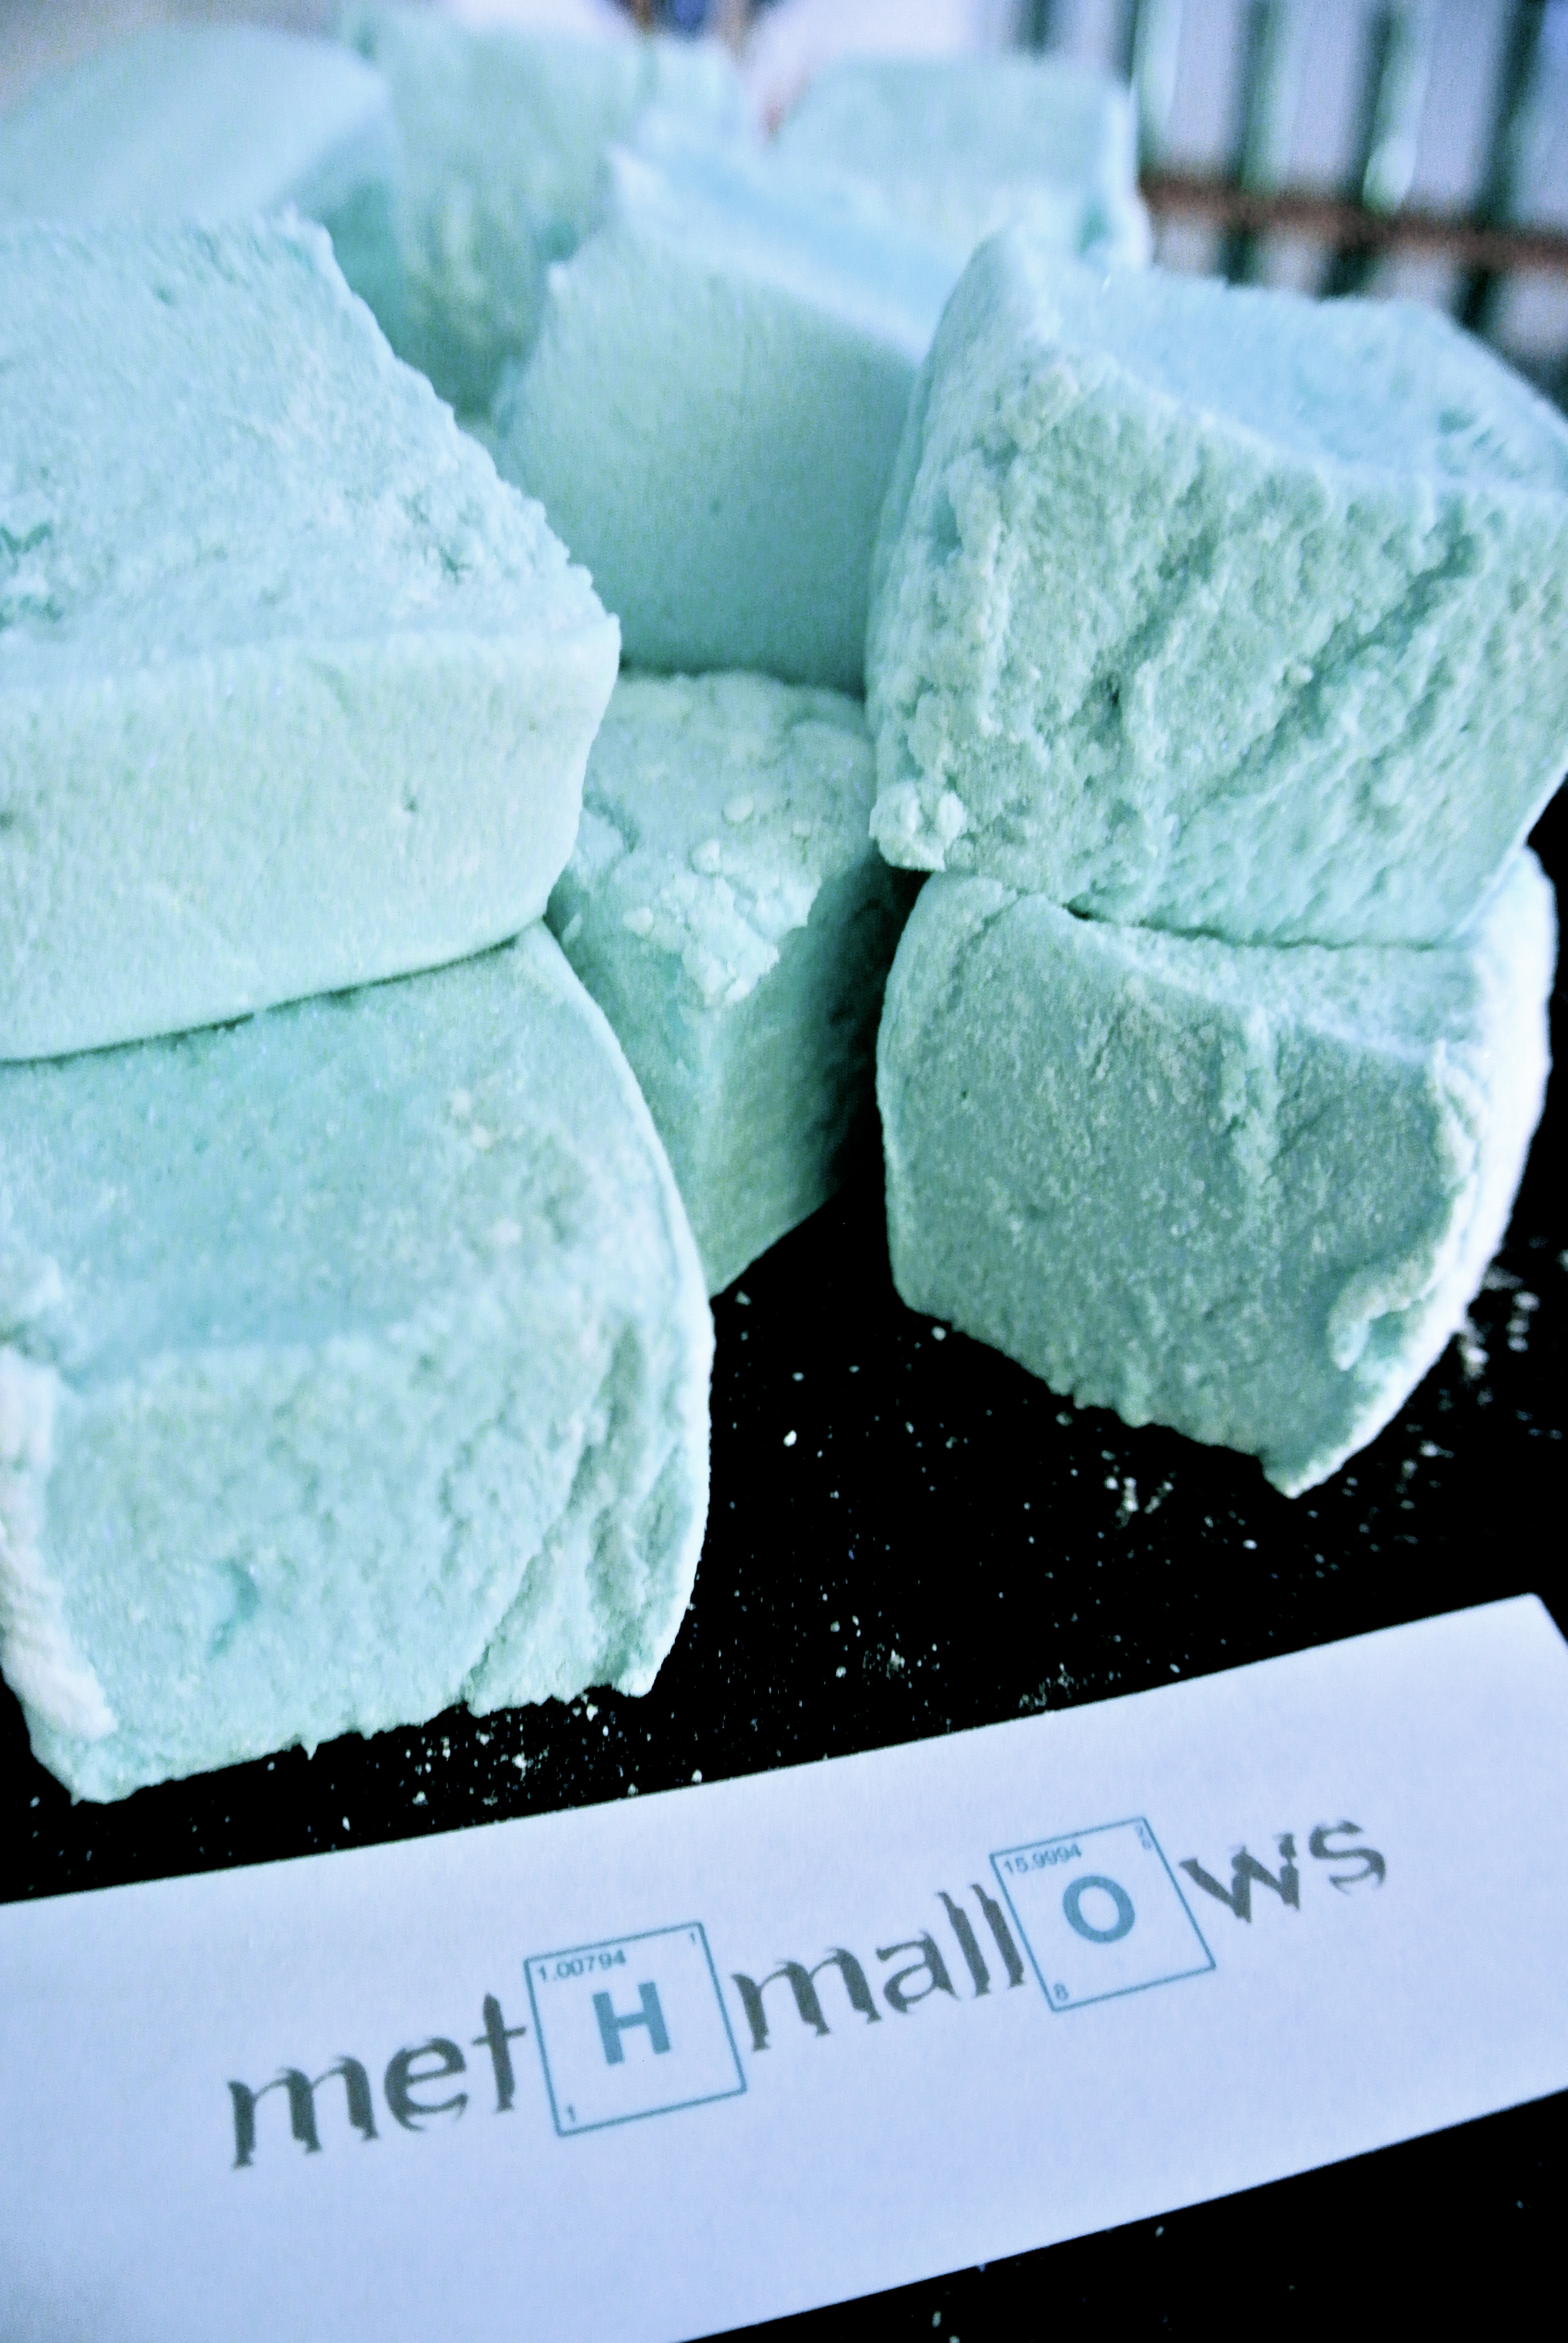
- As the mixture is whisking, you can add any colours or flavours you want. I like bubblegum, rootbeer and violet. This is a much better stage to add these, as you will be able to see the actual colour. The whisking process does make the mixture much paler in colour. It will also be cool enough to taste!
- Pour the mixture into the tin, smooth the top, and leave to set for 5 hours. Don’t worry about having air bubbles in it, the more the better!
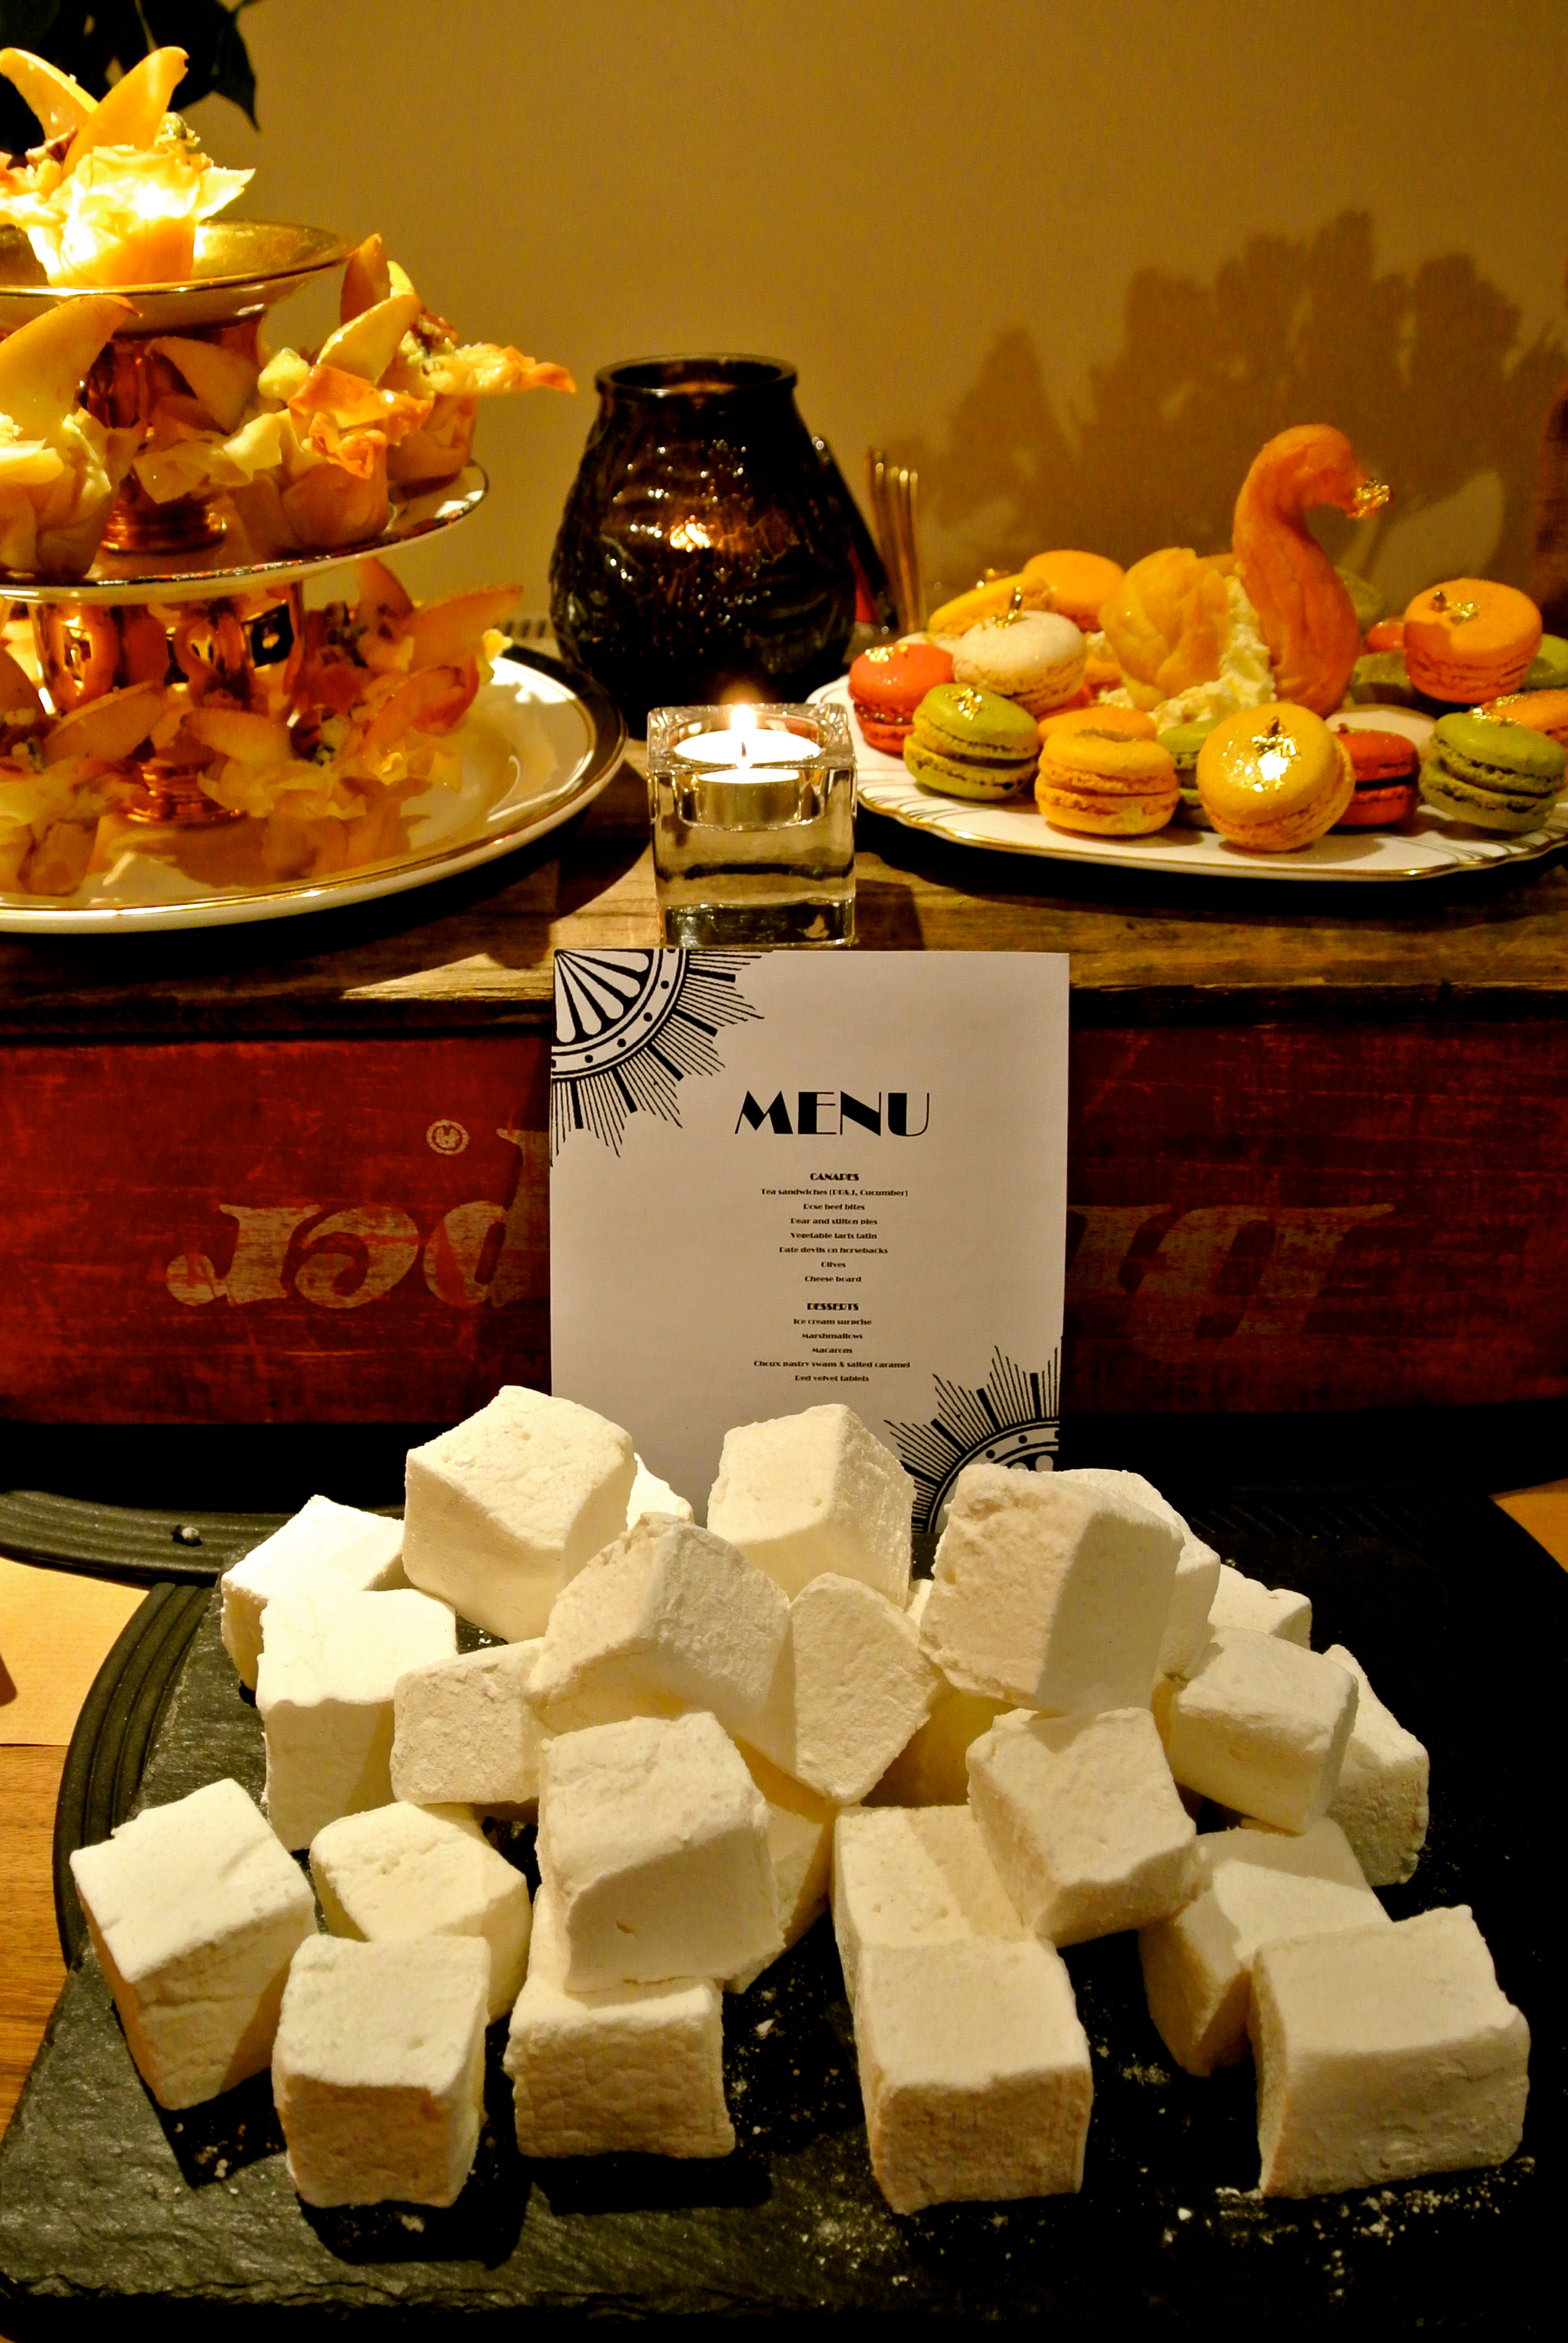
- Remove from the tin and cut into squares. Coat in the remaining cornflour/icing sugar mix and leave to dry for up to two hours. Sprinkle with glitter.
- Tumble into a large jar and enjoy. They will keep in an air tight container for about a week, but they never last that long and will be devoured within a much shorter time period!
YOU WILL NEVER BUY ANOTHER MARSHMALLOW AGAIN!
Inspiration: Mallow’s on Parade


Pingback: 365 days on planet earth: happy birthday kitCat! | Geek Chic HQ